I’ve got a lot of media. Thousands of songs. Thousands of photos. Maybe a couple hundred movies and videos. Most of it sits on a network attached storage box, some on my main comp.
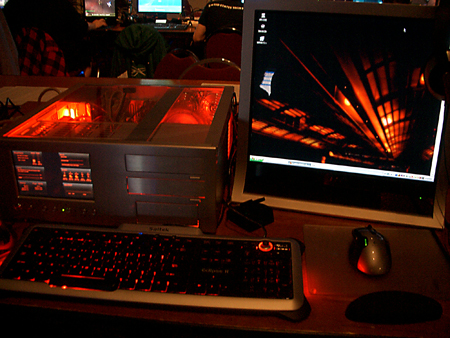
For the past few years I’ve been happily using a D-Link DSM-320 as a media extender to (frequently) listen to music through our whole-house system and (rarely) watch pics and movies on the living room TV. The D-Link box doesn’t have the brains to act as a media server, but it’s more of a playback device with a wireless network adapter allowing you to browse and play a media collection from a TV. The media server which keeps all my files indexed and sends the stream to the network is actually software running on my main CPU. Up to this point I’ve been using the media server software with came with the D-Link box. It’s nothing too fancy, but it works fine.
For a while I’ve been thinking about setting things up so I could access media from outside my network. I debated port forwarding, with an SSH tunnel over port 80, etc, but never bothered because the media software I was running is really only geared to the D-Link box. I briefly thought about using sharing in Windows Media Player instead, but that is still limited to in-network use. Instead of looking into other media servers options, I’ve been content enough with shuffling media from home devices to work devices.

But then recently I finally updated my version of WinAmp and discovered WinAmp Remote and, in general, the Orb service. Orb involves two pieces, a client you install on some home machine that acts as the media server, and a website you can use to remotely connect to this client. It’s a pretty sweet creation. Within my LAN the Orb client is seen by windows media center (on any machine) and the D-link box connected to the house audio and living room TV. From a LAN perspective there’s not too much new here – I can stream music, photos, and video anywhere in the network. The Orb website is the other piece. Basically, the client pings the website and maintains a DynDNS sort of external path to my home media server. I log into the website and can see the media shares and start streaming over the WAN. With things properly configured the media is actually rendered to a streaming format on my home PC (into a detected bandwidth-friendly bitrate no less) and sent straight to my remote player without going through the Orb network. You can even use the Orb web client to do remote file browsing and such (if you really want to).
But wait there’s more. Don’t like the streaming aspect, and want to download you media from a remote location – check. Found some new stuff to add to your collection and want to upload it to the server at home – check. And they also have a mobile version of the web site so you can stream media to your phone (so long as it handles the streaming protocols).
I like the setup because it rolls a LOT of capabilities together and just works. I get LAN and WAN streaming and all the little pieces in between are handled for me. Oh, and it’s all free.