For the past couple weeks I’ve been on vacation and then sick, so the box building has certainly slowed down, but I’ve some progress over the past couple days.
First off, I picked up a couple final parts. After doing better in Vegas than I expected, I picked up a 300GB 10k rpm Velociraptor hard drive. I benchmarked it against the 80GB 7200rpm Barracuda drive that I already had installed and the Velociraptor is about twice as fast in every metric. It doesn’t really get that warm either. It’s a pretty awesome drive in a tiny package. I also got my wireless card and installed it. I went with the Linksys WMP300N PCI card – roughly the same as the Belkin wireless N card that I had been using, but a little beefier antenna and a bit cheaper. It took some getting used to the management of wireless networks in Vista, but so far performance is looking great.

And then there’s the continual wiring work that I’ve been doing. Most recently I installed my old 3.5″ device for front panel USB and audio ports. The USB lines got bundled and sheathed. Unfortunately, the audio cable was a few inches too short to make it to my sound card, however. So for that I spliced a piece of outdoor sprinkler wire (it had more than enough conductors at approximately the right gauge). Then I mounted a switch next to the 3.5″ device for controlling the fan speeds on the PSU / HDD side of the case. After a little soldering I can now switch those two 120mm fans between a low setting of 5 volts to a high of 12 volts. One last project will be mounting a second switch to control the case lighting.

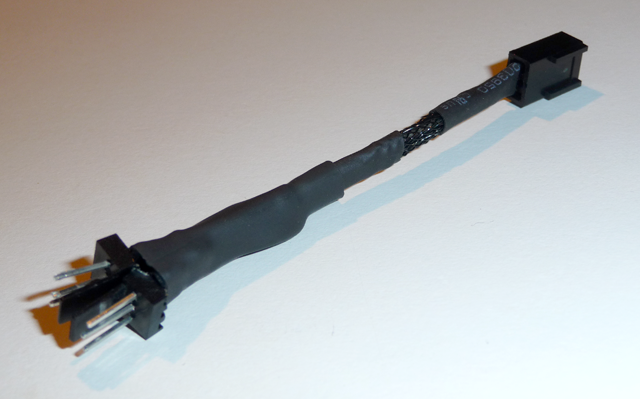
Now, about this green circuit board on the network card…hmmm